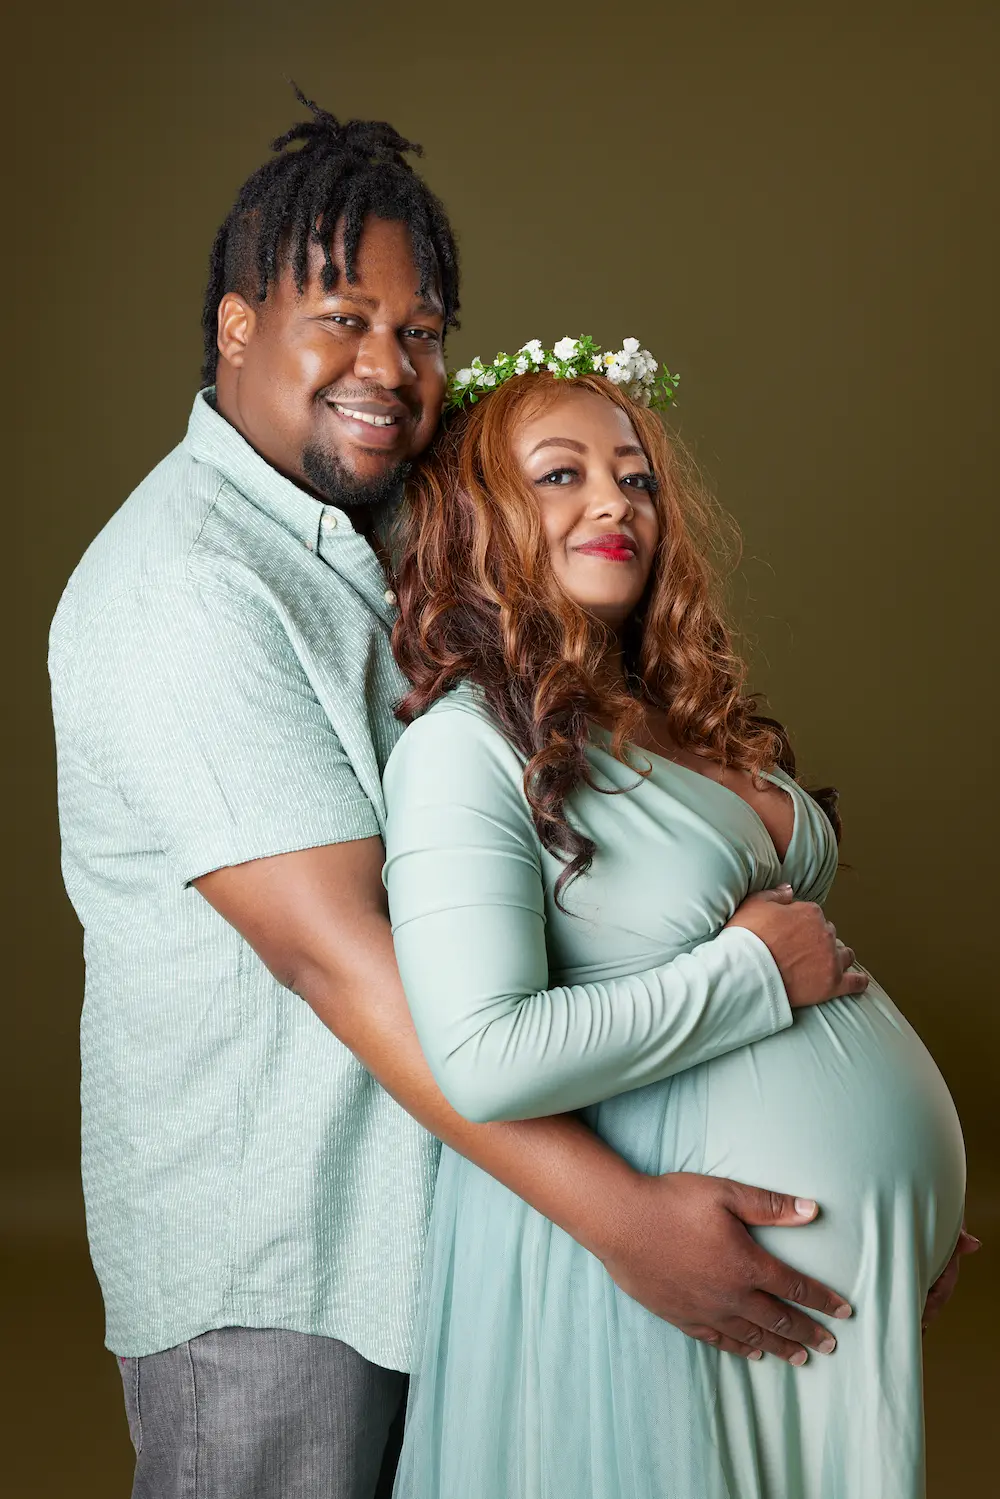
A first maternity photoshoot normally includes a short settling-in period, outfit and styling checks, guided posing, several lighting or framing variations, optional partner or family portraits, and image selection afterwards. You do not need modelling experience: the photographer should guide posture, hands, gaze and movement throughout.
Before you arrive
Once your session is booked, we’ll be in touch to talk through the details — your stage of pregnancy, the style you’re drawn to, and whether you’d like your partner or children involved. This is the moment to ask questions and share any inspiration you’ve been saving.
We’ll send you a simple prep guide covering what to wear and what to bring, so nothing is left to chance on the day. If you’d like to borrow from our gown wardrobe, we’ll reserve your favourites in advance.
How the first 10 minutes usually feel
Slower than you expect. When you arrive, there’s no rush — we’ll offer you a drink, show you the changing space, and talk through the plan for the session. The studio is warm, private and calm, and everything is set up before you walk in, so the lighting and backdrops are ready to go.
Most people are quietly nervous at this point, and that’s entirely normal. What resolves it isn’t reassurance, it’s starting. Within a few frames you’ll have seen an image on the back of the camera, and the gap between what you feared and what’s actually happening closes very quickly.
We deliberately begin with the simplest look and the easiest set-up rather than the most ambitious one. The first ten minutes are for settling, not for the hero shot.
How maternity posing is guided
You will not be left to work out what to do. We guide you fully — where to place your hands, how to hold your posture, which way to turn, where to look — and we adjust in small increments rather than asking you to invent anything.
In practice, direction sounds like: chin slightly forward and down, weight onto the back foot, front hand under the bump and the back hand higher, shoulders turned a few degrees away, breathe out. None of it requires experience. It requires someone telling you, which is our job.
“You don’t need to know how to pose. You only need to arrive — we shape the light and guide every movement.”
We also show you the back of the camera as we go, so you can see the images building. That feedback loop does more for confidence than anything we could say, and it means you’re never waiting until the gallery arrives to find out whether it worked.
What happens during outfit changes
We work in gentle stages, changing outfits and set-ups between looks so you can take breaks whenever you need one. Each change realistically takes ten to fifteen minutes once styling, hair and re-lighting are included, so a session with three looks spends a real portion of its time between the looks rather than in them.
That time isn’t wasted. It’s when you sit down, have a drink, and we reset the lighting for whatever comes next — which is often the point where people relax properly. Most mums bring two to four looks: a mix of flowing gowns, fitted pieces and something casual, to create variety across the gallery.
There’s a private changing space, and nobody is ever hurried through it. If a look isn’t working when you put it on, we’ll say so and swap it rather than shooting it out of politeness.
How lighting changes the look
The same outfit can produce very different photographs depending on how the light is shaped, and this is where most of the variety in a studio gallery actually comes from — not from the clothes.
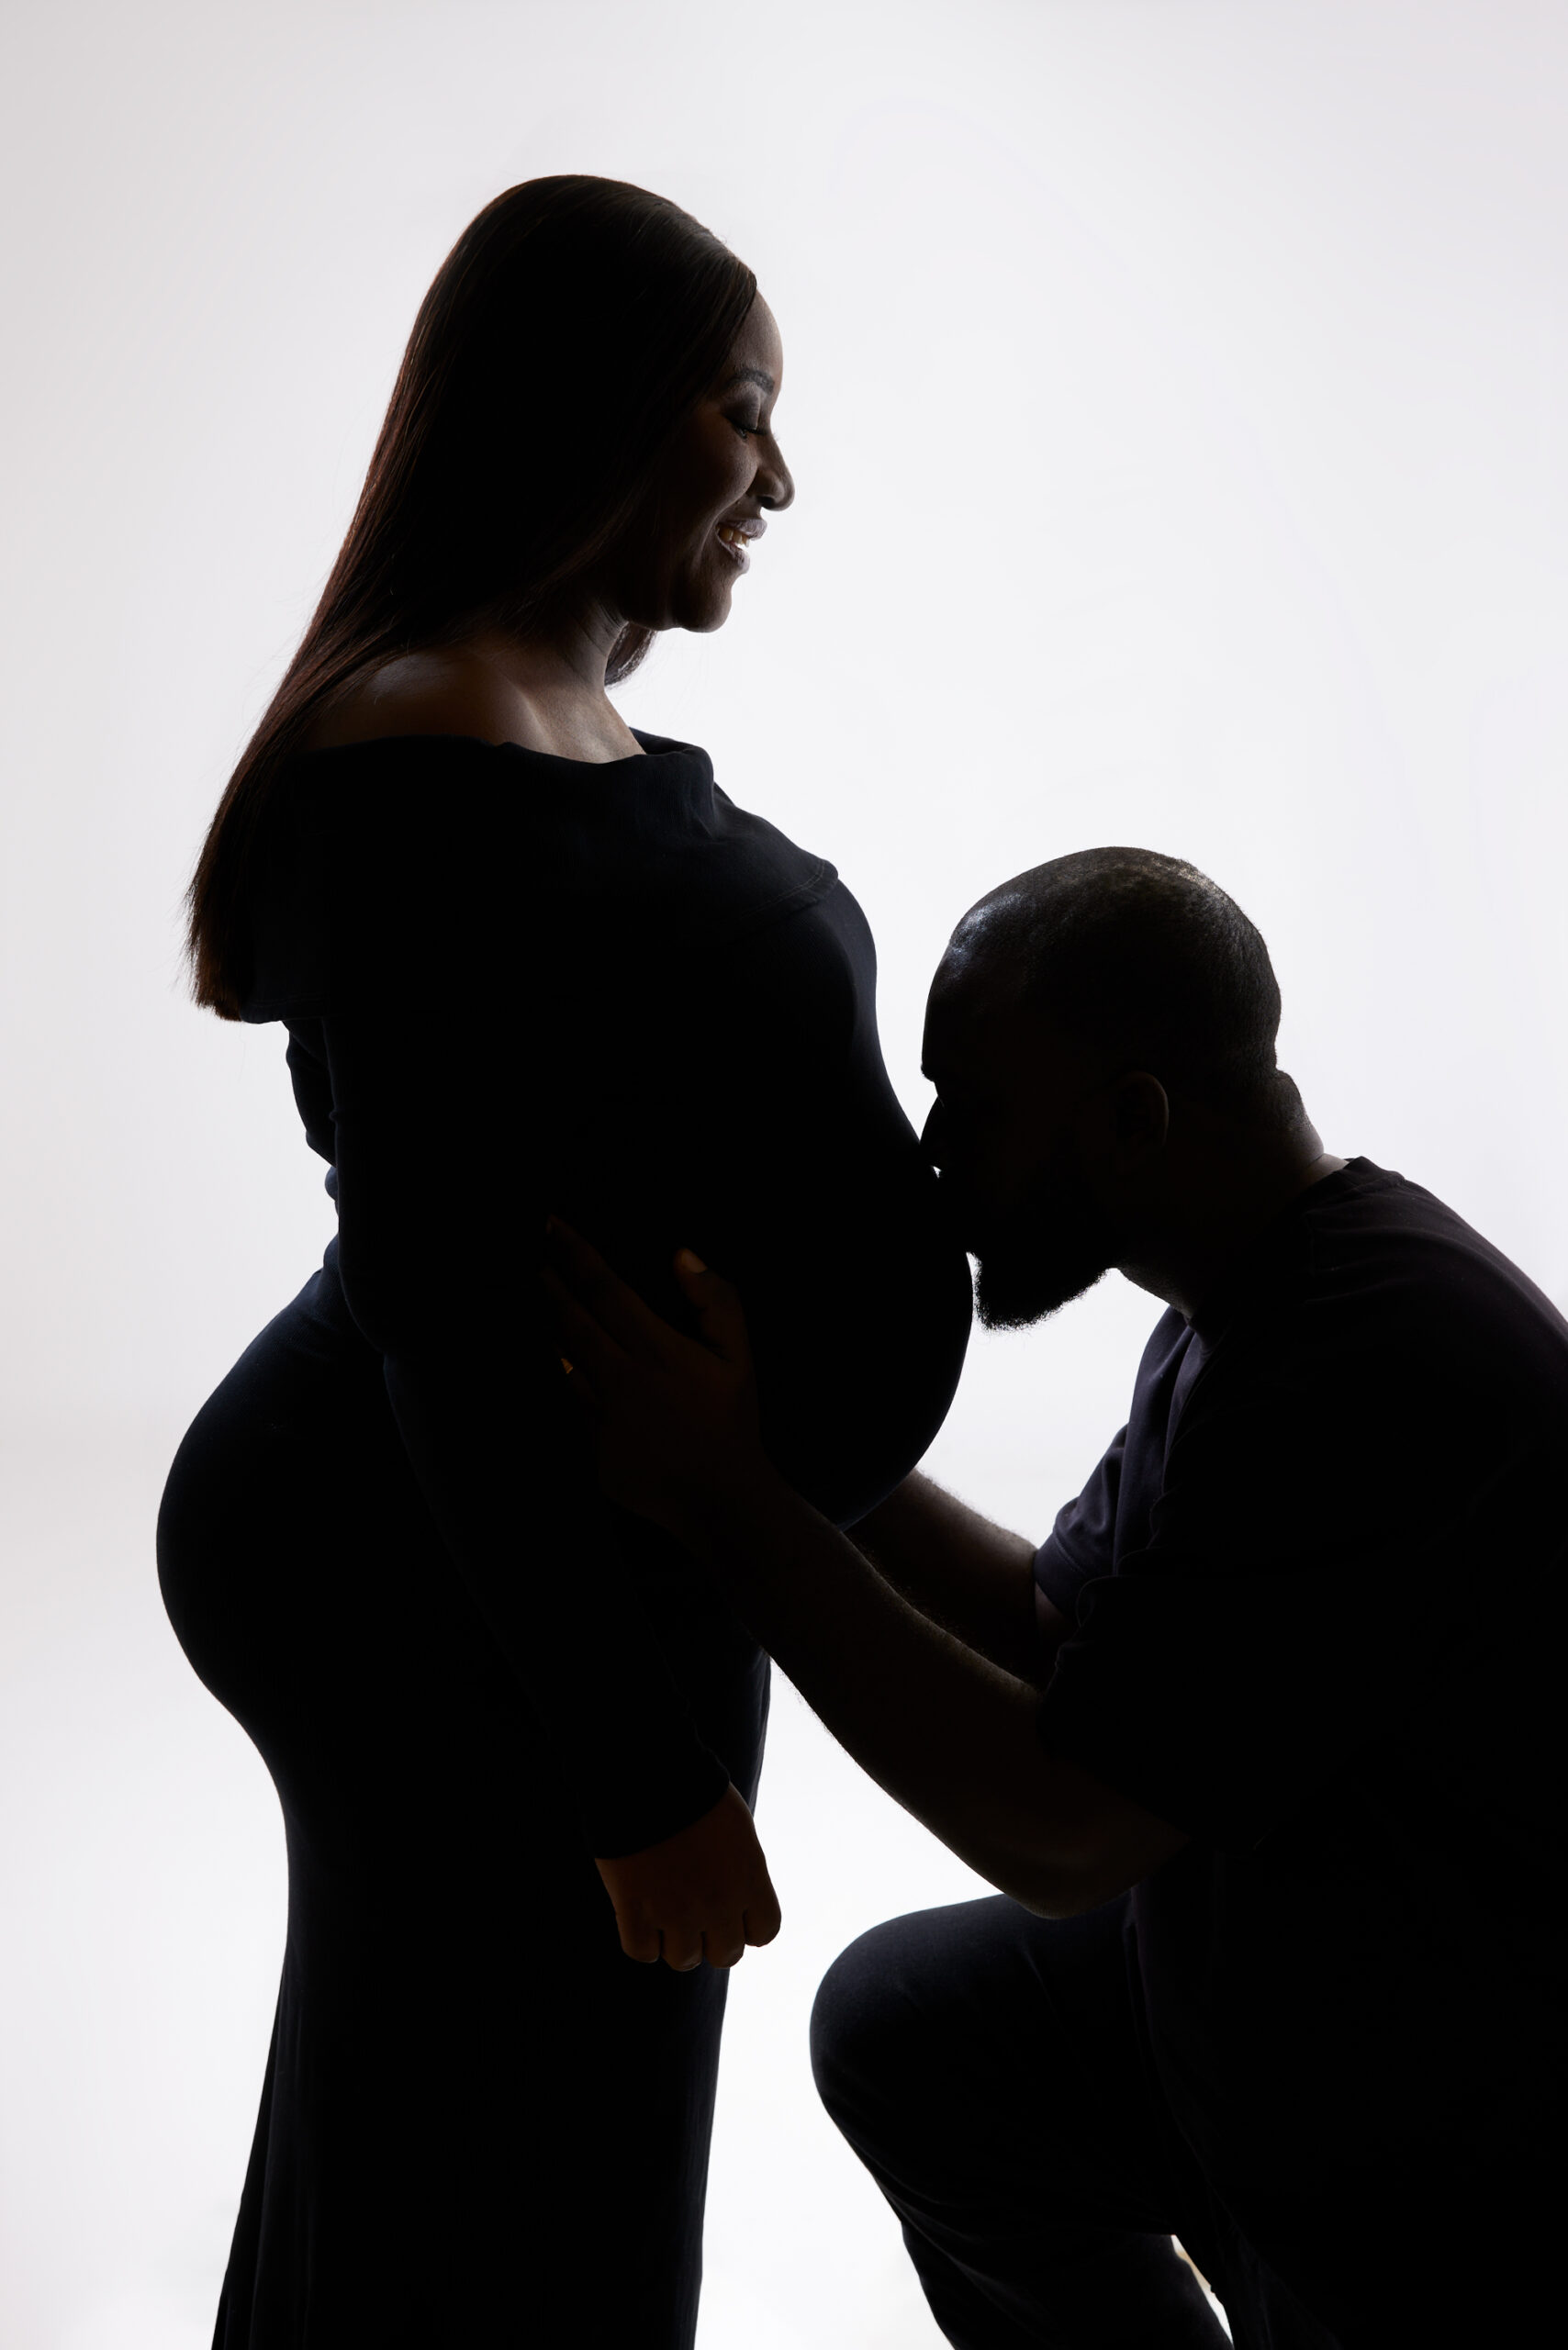
A large soft source close to you gives gentle, even, flattering portraits with a clean fall-off — the classic maternity look. Moving that light further away and narrowing it produces harder shadows, a defined edge along the bump and a much more sculptural, editorial result. A light placed behind you gives silhouette and rim-lit frames where shape does all the work.
We’ll usually run at least two of these across a session. It costs a few minutes to change and it meaningfully widens what you have to choose from at the end.
When partner or family photos fit in
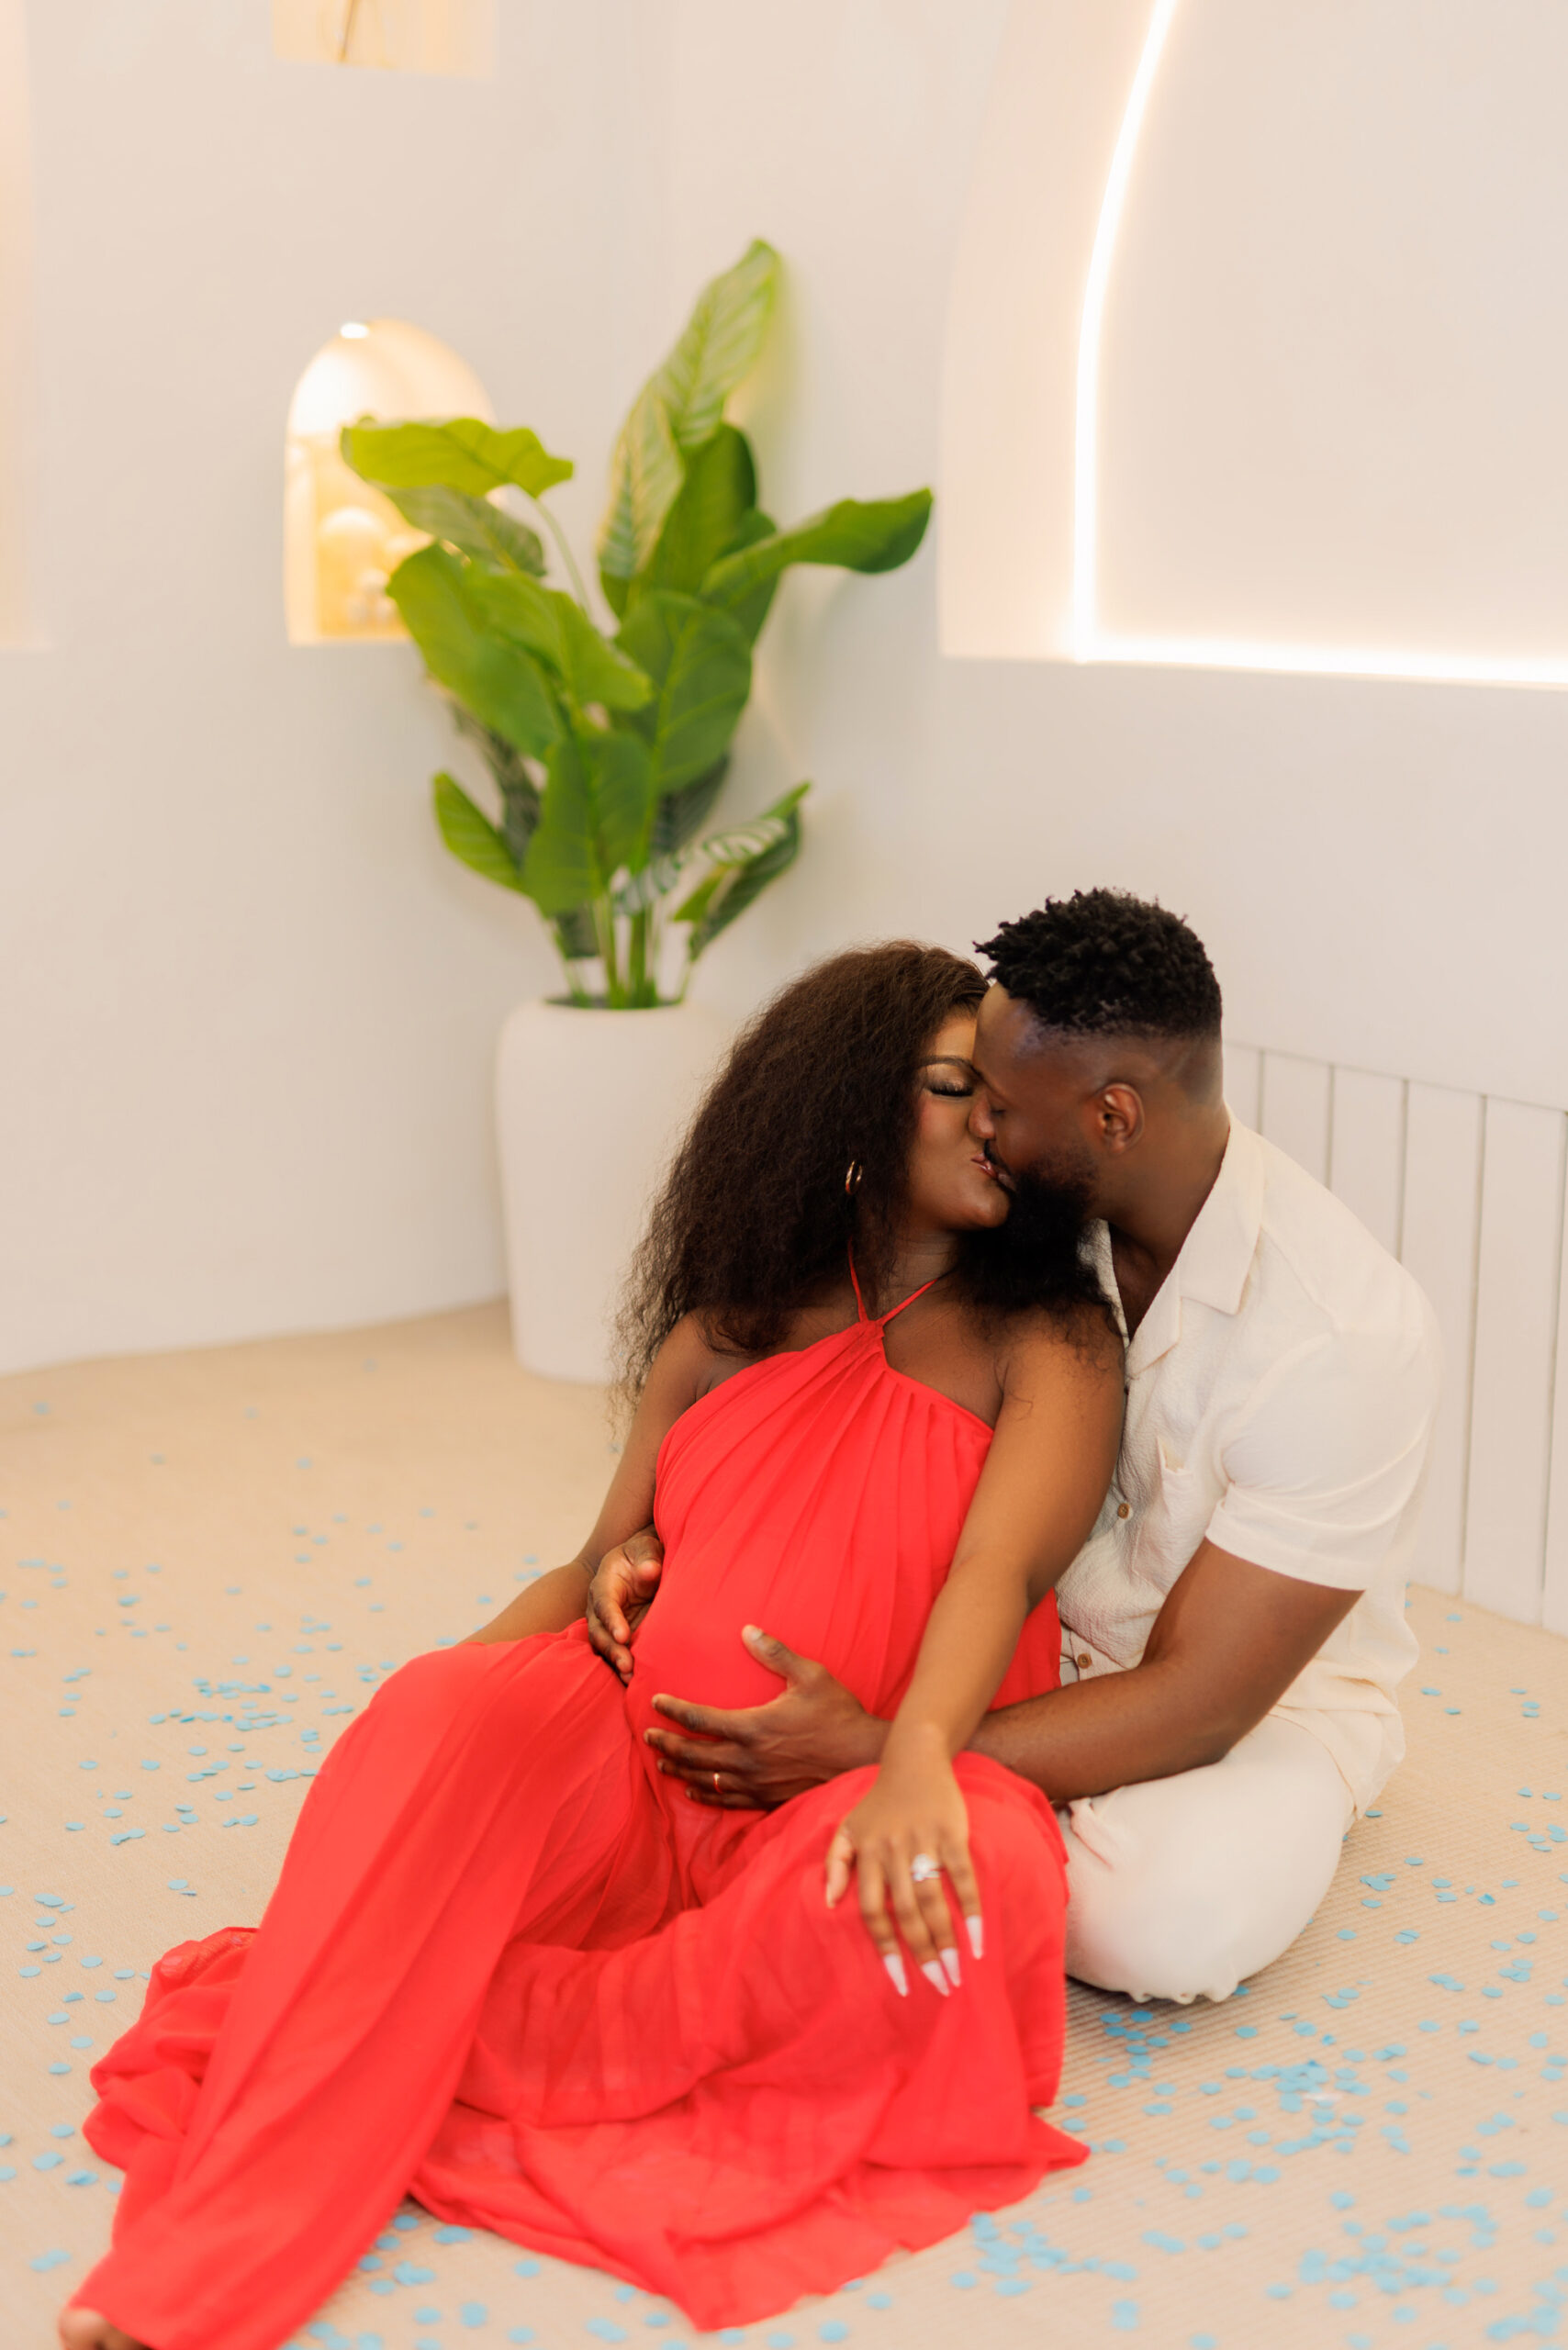
Partway through, once your solo portraits are done. If your partner or older children are joining, we’ll usually bring them in after you’ve settled, so they’re fresh and relaxed rather than restless from waiting — and so the maternity images you came for are already secured.
We keep that section playful and natural: a few guided frames, then room for the real moments that happen in between. Partners are given something specific to do with their hands, which is usually all that’s needed to remove the awkwardness.
Afterwards we come back to you alone for a final block. Those closing frames are often the strongest of the session, because by then the self-consciousness has gone entirely.
Breaks, comfort and communication
There’s plenty of time — nothing is hurried, and comfort always comes first. If you need to sit, get a drink, use the toilet or simply stop for five minutes, say so. Standing under lights in the third trimester is more tiring than it looks, and pausing is part of the plan rather than an interruption to it.
Speak up about the photographs too. If a pose feels uncomfortable, if you don’t like a look on the back of the camera, if there’s an angle you’d rather avoid — tell us in the moment. It’s far easier to change while the light is still set up than to wish you’d said something once the gallery arrives.
If you have a condition affecting how long you can stand, or anything else that shapes what’s comfortable, mention it beforehand and we’ll build the session around it.
How image selection works
A little while after your shoot, we’ll invite you to view your gallery and choose your favourites. There’s no pressure — we’re happy to guide you if you’re torn between frames, and there’s no expectation that you decide on the spot.
A practical approach that works for most people: go through once quickly and mark anything you have a positive reaction to, without analysing. Then go back and cut. Choosing on instinct first and reasoning second consistently produces a better final set than deliberating over each image in turn.
Every image you select is then professionally retouched by hand.
Editing and delivery expectations
Retouching is done individually rather than by applying a preset across the set. That covers colour, tone, skin, stray hairs, elastic marks and anything distracting in the frame — the goal being that the photograph looks like you on a good day, not like a different person.
If there’s something you’d particularly like softened or left alone, tell us at selection. Preferences vary a lot on this and we’d rather ask than assume.
Your finished, edited photographs are delivered digitally, ready to keep, share and print. If you’ve chosen wall art or an album, we’ll help you decide which images work best for your space.
What AOU Studio wants first-time clients to know
Three things, mostly. First, nearly everyone feels awkward for the opening few minutes, including people who look entirely at ease in their final gallery. It is not a sign that the session is going badly.
Second, you have more control than you might assume. What you wear, how much you show, which set-ups you skip, when you stop — all of it is yours to decide, and changing your mind halfway through is completely normal.
Third, the goal isn’t a flawless photograph. It’s a set of images that look like this particular chapter of your life. A calm, guided morning that leaves you with portraits you’ll treasure long after baby arrives is a far more realistic aim than perfection, and a much better one.
Common mistakes to avoid
- Mistake: Practising poses in the mirror the night before. Better: Arrive with nothing rehearsed — rehearsed poses look rehearsed, and you’ll be guided throughout.
- Mistake: Booking a session squeezed between other commitments. Better: Leave an empty hour either side so nothing is rushed.
- Mistake: Staying quiet when something feels uncomfortable. Better: Say it in the moment, while it can still be changed.
- Mistake: Bringing six outfits to a two-hour session. Better: Two to four decided looks; changes cost more time than people expect.
- Mistake: Leaving it until 38 weeks. Better: Around 30–34 weeks gives a clear bump with energy still on your side.
Practical checklist
- Send any reference images across before the day rather than on it.
- Decide two to four looks and bring them on hangers.
- Travel in loose clothing and change at the studio.
- Eat properly beforehand and bring a snack and water.
- Confirm who’s joining and roughly when they should arrive.
- Mention any comfort or mobility considerations in advance.
Nottingham-specific notes
Sessions run indoors under controlled light, so the forecast affects your journey and nothing else. For a first shoot that predictability matters — you’re not also managing a weather decision on top of everything else.
If you’re travelling in from Beeston, West Bridgford, Hucknall or elsewhere across the East Midlands, give yourself a slightly longer window than the map suggests and arrive around ten minutes early. There’s somewhere comfortable to sit if you’re ahead of time, and no advantage to arriving flustered.
How AOU Studio approaches this
The question we’re asked most before a first session is some version of “what if I’m bad at this?” It comes up in nearly every pre-shoot conversation. The honest answer is that being good at it was never your job — the photographer’s competence is measured precisely by how little you have to bring to it.
What we’ve noticed consistently is where the shift happens: it’s the first time someone sees themselves on the back of the camera. Before that moment people are managing their own anxiety; afterwards they’re participating. It’s why we show images early rather than saving them, even though it costs a little time.
The other pattern worth naming is that the frames people worry most about beforehand — the minimal look, the bolder gown — are very often the ones they choose in the end. We schedule those late in the session for exactly that reason.
Where generic advice tends to fall short is in treating a first shoot as a performance to prepare for. It isn’t. It’s a couple of guided hours in a warm room where someone else is responsible for the technical work, and the preparation that actually matters is sleep, food and a calm journey.
Frequently asked questions
Do I need to know how to pose?
No. Posture, hands, gaze and movement are all guided throughout, in small adjustments. No modelling experience is expected or needed.
Will I be expected to show my bump?
Only as much as you want to. Plenty of sessions are shot entirely in clothed looks, and how much skin is shown is your decision at every point — including changing your mind partway through.
Can I show reference images?
Yes, and they’re genuinely useful. Send them ahead of the day where possible so lighting and set-ups can be planned around them rather than improvised mid-session.
What if I feel awkward at first?
Almost everyone does, and it usually passes within the first few frames. We start with the simplest set-up and show you images early, which is the fastest route from self-conscious to settled.